

Why You’ll Love This Recipe
This recipe combines the rich, earthy flavor of pumpkin with the light, airy texture of a well-fermented dough. The slow rise process ensures that the bread has a perfect crumb, while the Dutch oven helps create a beautiful, crispy crust. It’s a comforting bread that’s perfect for fall, but delicious year-round. Whether you enjoy it toasted with butter or as a savory sandwich base, this bread is a winner.
Ingredients
(Tip: You’ll find the full list of ingredients and measurements in the recipe card below.)
3/4 cup cool water (180 g)
1/2 tsp active dry yeast (use 1/4 tsp for overnight rise)
1 cup pumpkin puree (225 g)
3 cups bread flour (425 g)
2 tsp fine sea salt

Directions
-
Activate the Yeast: In a large bowl, pour in the cool water and sprinkle the active dry yeast on top. Stir gently to dissolve the yeast, then let it sit for a few minutes to activate.
-
Mix the Pumpkin: Add the pumpkin puree to the yeast mixture and whisk until smooth and well combined. Make sure there are no lumps remaining.
-
Add Dry Ingredients: Add the bread flour and sea salt to the pumpkin-yeast mixture. Stir with a rubber spatula, then switch to your hands to fold and squeeze the dough until all flour is absorbed and the dough is evenly mixed. The dough will be sticky.
-
First Rise: Cover the bowl with plastic wrap and leave the dough at room temperature for 1 hour. After an hour, wet your fingers and perform a series of dough folds—lift the dough from one side and fold it over itself several times. Stop when the dough feels tight and resists folding.
-
Second Rise: Cover the bowl again and leave it at room temperature for 3–4 hours, or until the dough increases in volume by about a third. Pop any large air bubbles to maintain even texture.
-
Chill Overnight: Transfer the dough to the fridge and let it rest for 12 hours or overnight.
-
Shape the Dough: The next day, remove the dough from the fridge and transfer it to a floured work surface. Gently shape the dough into a tight, round ball by tucking the edges underneath and using your hands to round it out. Place the dough on a piece of parchment paper, dust the top lightly with flour, and cover with a tea towel. Let it rise for another 3–4 hours until puffy and slightly expanded.
-
Preheat the Dutch Oven: Place a 4–6 quart Dutch oven in your oven and preheat to 450°F (230°C). Once the oven is heated, let the Dutch oven continue to heat for 10–20 minutes.
-
Score the Dough: Using a sharp paring knife, score the top of the risen dough with a shallow slash about ½ cm deep. This allows the bread to expand while baking.
-
Bake the Bread: Carefully remove the preheated Dutch oven from the oven. Using the parchment paper, lift the dough and place it into the pot. Cover with the lid and bake for 20 minutes. Then, remove the lid and continue baking for another 20–25 minutes, until the bread is deeply golden and the crust is firm.
-
Cool and Slice: Remove the bread from the Dutch oven and let it cool on a wire rack for at least an hour before slicing. This resting time helps the crumb set and enhances the flavor.
Servings and timing
This recipe yields 4 servings.
Prep Time: 6 hours 10 minutes
Cook Time: 12 hours 20 minutes
Total Time: 18 hours 30 minutes
Variations
-
Add Spices: For a classic fall flavor, add 1 tsp of cinnamon, 1/2 tsp nutmeg, and 1/4 tsp ginger to the flour mixture.
-
Add-ins: Fold in a handful of toasted pumpkin seeds or walnuts before shaping the dough for added texture and flavor.
-
Sweet Twist: Add a bit of brown sugar or maple syrup to the dough for a sweeter variation of pumpkin bread.
-
Herb Infusion: For a savory loaf, experiment with rosemary, thyme, or garlic for a more rustic flavor.
storage/reheating
Store the bread in an airtight container at room temperature for up to 3 days.
For longer storage, wrap the bread tightly and freeze for up to 2 months. Thaw at room temperature before serving.
Reheat slices in the oven for a few minutes or toast for a crispy finish.
FAQs
Why does this recipe require such a long rise time?
The long rise time allows the dough to develop flavor and texture, resulting in a light and airy loaf. The overnight rest in the fridge helps enhance the bread’s taste.
Can I skip the overnight rest?
While you can skip the overnight rest, it’s essential for achieving the best texture and flavor. Without it, the bread will be denser.
How do I know when the bread is done?
The bread should have a deep golden crust and feel firm when touched. You can also check by tapping the bottom of the loaf; it should sound hollow.
Can I make this bread in a regular loaf pan?
While the Dutch oven method creates a beautiful crust and shape, you can bake this bread in a loaf pan. Just adjust the baking time to about 30–35 minutes.
What if I don’t have a Dutch oven?
If you don’t have a Dutch oven, you can bake the bread on a baking sheet. Cover the bread with a large pot or a deep roasting pan to trap steam during baking.
Can I use whole wheat flour instead of bread flour?
You can use whole wheat flour, but the bread may be denser. A mix of whole wheat and bread flour is a good alternative.
Why do I need to score the dough?
Scoring the dough helps it expand evenly and allows the bread to have a beautiful crack on top while baking.
How can I make this recipe dairy-free?
This recipe is already dairy-free! The pumpkin puree and olive oil provide plenty of moisture and richness.
Can I make this bread sweeter?
Yes, you can add sugar or sweetener to the dough for a sweeter version, especially if you want a dessert-style bread.
Is this bread good for sandwiches?
Absolutely! This pumpkin bread has a slightly dense but tender crumb, making it perfect for sandwiches.
Conclusion
Perfect Dutch Oven Pumpkin Bread is a comforting, hearty loaf with a beautiful crust and a light, tender crumb. Whether you enjoy it with a hot drink, use it for sandwiches, or simply savor a warm slice with butter, this bread is sure to be a favorite. The long rise time and Dutch oven method ensure that each loaf has the perfect texture and flavor. Enjoy it fresh from the oven or toasted the next day!

Perfect Dutch Oven Pumpkin Bread
5 Stars 4 Stars 3 Stars 2 Stars 1 Star
No reviews
- Author: Paula
- Total Time: 18 hours 30 minutes
- Yield: 4 servings
- Diet: Vegan
Description
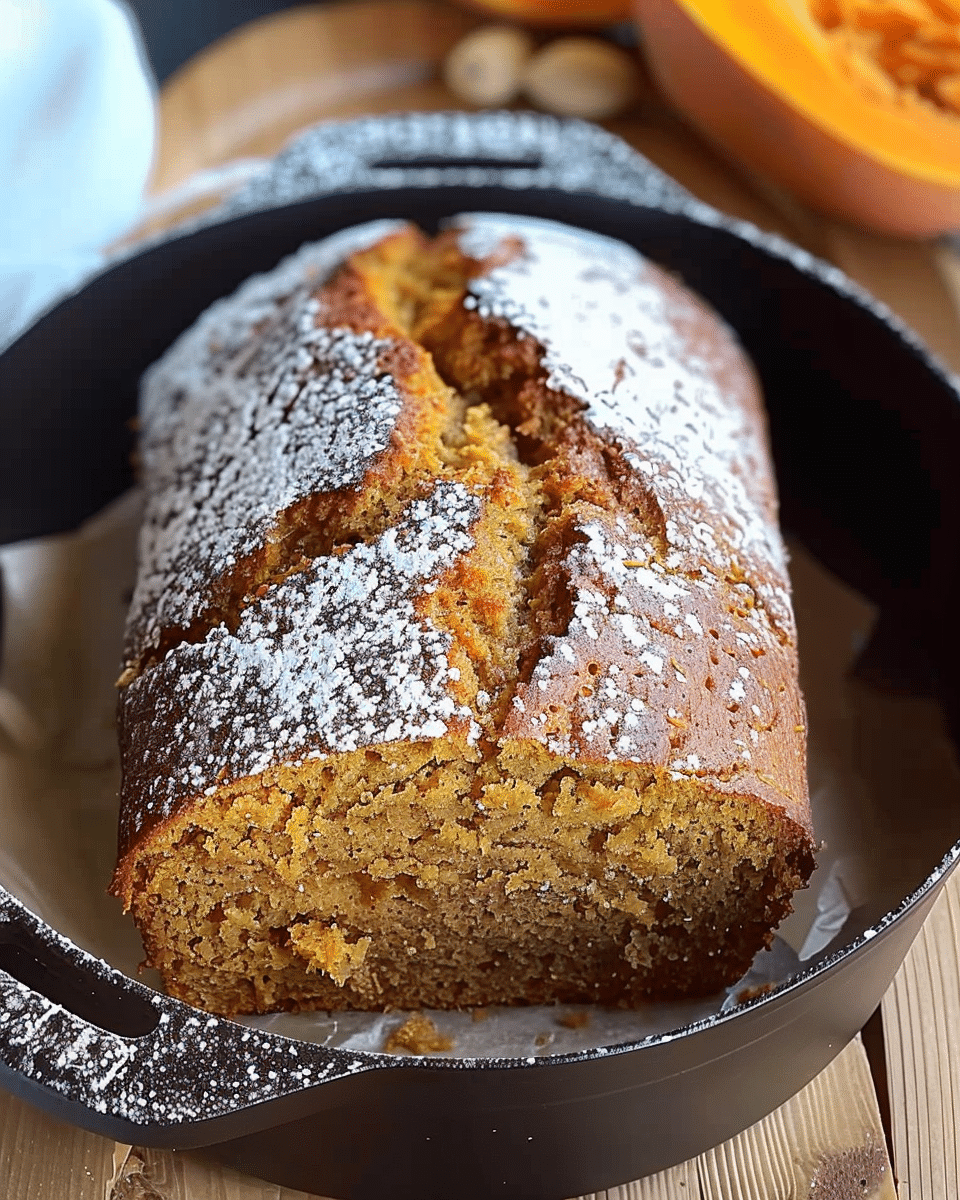
Perfect Dutch Oven Pumpkin Bread combines earthy pumpkin flavor with a light, airy crumb and a golden, crispy crust. Slow fermentation and Dutch oven baking create a hearty, rustic loaf that’s perfect for sandwiches, toasting, or enjoying warm with butter.
Ingredients
3/4 cup cool water (180 g)
1/2 tsp active dry yeast (use 1/4 tsp for overnight rise)
1 cup pumpkin puree (225 g)
3 cups bread flour (425 g)
2 tsp fine sea salt
Instructions
- In a large bowl, combine cool water and yeast. Stir gently and let activate for a few minutes.
- Whisk in pumpkin puree until smooth and fully combined.
- Add bread flour and sea salt. Mix with a spatula, then use your hands to fold until dough is sticky but uniform.
- Cover and let rise at room temperature for 1 hour. Perform several dough folds, then cover again.
- Let rise 3–4 more hours until volume increases by about a third. Pop large bubbles if present.
- Refrigerate overnight for 12 hours.
- Next day, shape dough into a round ball on a floured surface. Place on parchment, dust lightly with flour, and cover with a tea towel. Rise 3–4 hours until puffy.
- Preheat a 4–6 quart Dutch oven at 450°F (230°C) for 10–20 minutes.
- Score dough with a shallow slash. Place into the Dutch oven using parchment paper.
- Bake covered for 20 minutes. Uncover and bake 20–25 minutes more until golden and crusty.
- Cool on a wire rack at least 1 hour before slicing.
Notes
Add fall spices like cinnamon, nutmeg, and ginger for extra flavor.
Mix in pumpkin seeds or walnuts for added texture.
For a sweet loaf, add brown sugar or maple syrup.
For savory bread, try rosemary, thyme, or garlic.
Store at room temperature up to 3 days or freeze for 2 months.
- Prep Time: 6 hours 10 minutes
- Cook Time: 12 hours 20 minutes
- Category: Bread
- Method: Baking
- Cuisine: American
Nutrition
- Serving Size: 1/4 loaf
- Calories: 260
- Sugar: 3g
- Sodium: 490mg
- Fat: 2g
- Saturated Fat: 0g
- Unsaturated Fat: 2g
- Trans Fat: 0g
- Carbohydrates: 52g
- Fiber: 3g
- Protein: 8g
- Cholesterol: 0mg


