Why You’ll Love This Recipe
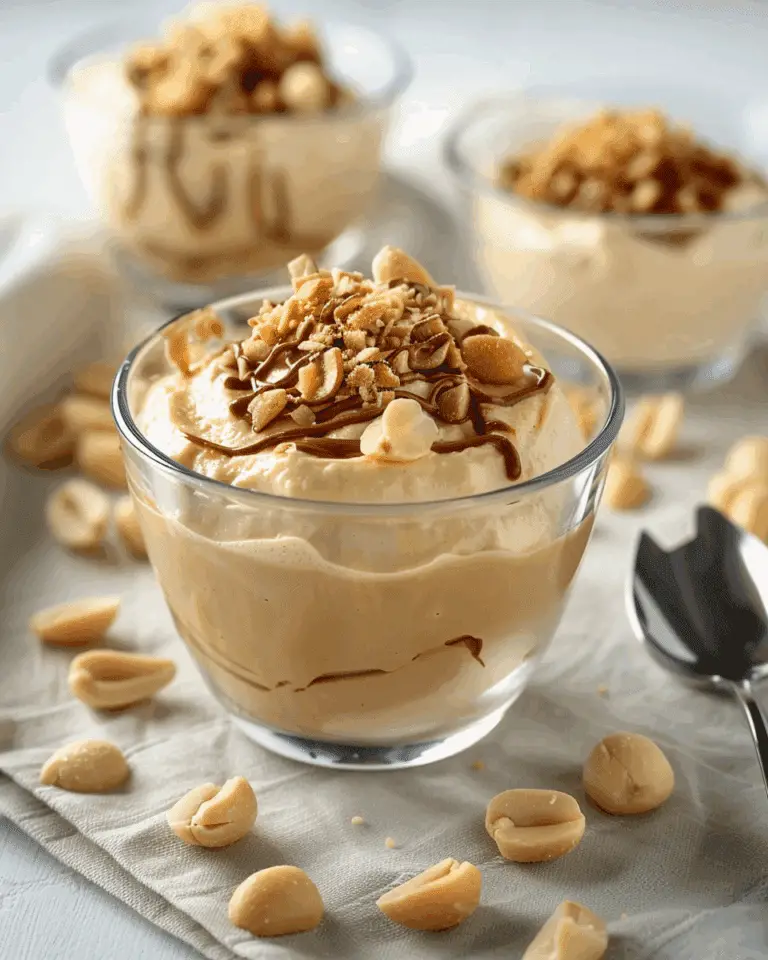
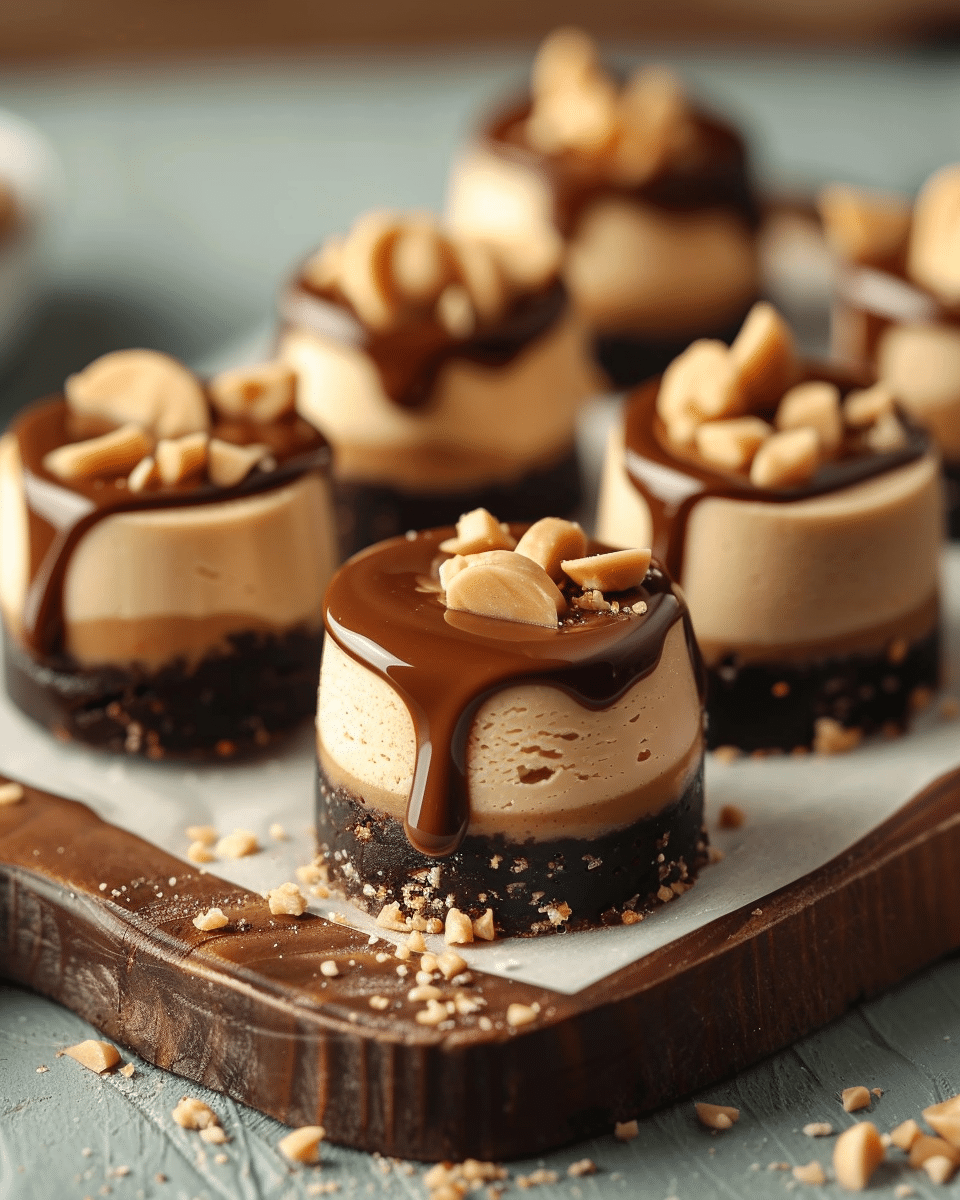
I like how these bites come together in just a few minutes with simple ingredients. The graham cracker crust adds a buttery crunch, while the peanut butter cheesecake filling is creamy and indulgent. Since they’re no-bake, I don’t have to fuss with complicated steps or baking times. They’re also versatile—I can keep them plain, drizzle with chocolate, or sprinkle with peanuts depending on the occasion.
Ingredients
(Note: All ingredient amounts are listed in the recipe card below.)
For the Crust:
1 cup graham cracker crumbs
1/4 cup unsalted butter, melted
For the Peanut Butter Cheesecake Filling:
8 oz cream cheese, softened
1/2 cup creamy peanut butter
1/2 cup powdered sugar
1 tsp vanilla extract
1/2 cup whipped topping or whipped cream
Topping (optional):
Melted chocolate for drizzling
Chopped peanuts
Mini chocolate chips

Directions
-
I start with the crust by mixing graham cracker crumbs and melted butter in a medium bowl until everything is evenly coated. I press the mixture firmly into the bottom of a mini muffin tin or silicone molds and let it chill in the fridge while I make the filling.
-
For the filling, I beat cream cheese, peanut butter, powdered sugar, and vanilla extract until smooth and creamy. Then I gently fold in the whipped topping until the mixture becomes light and fluffy.
-
I spoon the cheesecake filling over the crusts, smoothing the tops with a spatula, and place the bites back in the fridge to set for at least 1 hour.
-
Once they’re firm, I add toppings like a drizzle of melted chocolate, chopped peanuts, or mini chocolate chips for extra flavor and texture.
-
I carefully remove the cheesecake bites from the tin or molds and serve them chilled.
Servings and Timing
This recipe makes 24 cheesecake bites. It takes about 10 minutes of prep time, plus at least 1 hour of chilling.
Variations
I sometimes mix mini chocolate chips directly into the cheesecake filling for extra bursts of chocolate. For a fun twist, I swap the graham cracker crust for crushed chocolate cookies. If I want a salty-sweet contrast, I sprinkle a touch of flaky sea salt over the chocolate drizzle.
Storage/Reheating
I store these bites in an airtight container in the fridge for up to 5 days. They also freeze well—when I want to keep them longer, I freeze them for up to 2 months and let them thaw in the fridge before serving.
FAQs
Can I make these without a crust?
Yes, I can skip the crust and just spoon the cheesecake filling into molds or cups.
Can I use crunchy peanut butter instead of creamy?
Yes, but I prefer creamy for a smoother texture. Crunchy will give little peanut bits throughout.
Can I make these ahead of time?
Yes, I often make them the day before serving since they hold up well in the fridge.
Do I have to use whipped topping?
No, I can use freshly whipped cream instead. It makes the bites lighter and just as delicious.
Can I use almond or cashew butter?
Yes, I can substitute with other nut butters for a different flavor.
How do I prevent the crust from crumbling?
I press it down firmly into the molds and chill it before adding the filling.
Can I make these in a regular muffin tin?
Yes, but they’ll be larger. I usually cut them in half to serve.
Do I need to line the muffin tin?
Using paper liners or silicone molds makes removal easier, but chilling helps them set enough to come out cleanly.
Can I freeze them with toppings?
Yes, but I prefer adding toppings after thawing so they stay fresh and crunchy.
What’s the best way to serve them at parties?
I like to keep them chilled until just before serving, then arrange them on a platter with a mix of toppings for variety.
Conclusion
I love how simple and delicious these no-bake peanut butter cheesecake bites are. They give me all the flavor of cheesecake in a quick, bite-sized treat that’s creamy, rich, and endlessly customizable. Whether I’m making them for myself or sharing them at a gathering, they’re always a hit.
No-Bake Peanut Butter Cheesecake Bites
5 Stars 4 Stars 3 Stars 2 Stars 1 Star
No reviews
- Author: Paula
- Total Time: 1 hour 10 minutes (including chilling)
- Yield: 24 bites
- Diet: Vegetarian
Description
These no-bake peanut butter cheesecake bites are creamy, rich, and perfectly portioned into bite-sized desserts. With a graham cracker crust, peanut butter cheesecake filling, and optional chocolate or nut toppings, they’re an easy and indulgent treat for any occasion.
Ingredients
For the Crust:
1 cup graham cracker crumbs
1/4 cup unsalted butter, melted
For the Peanut Butter Cheesecake Filling:
8 oz cream cheese, softened
1/2 cup creamy peanut butter
1/2 cup powdered sugar
1 tsp vanilla extract
1/2 cup whipped topping or whipped cream
Toppings (optional):
Melted chocolate for drizzling
Chopped peanuts
Mini chocolate chips
Instructions
- In a medium bowl, mix graham cracker crumbs and melted butter until evenly coated.
- Press the mixture firmly into the bottom of a mini muffin tin or silicone molds. Chill in the fridge while preparing the filling.
- In a separate bowl, beat cream cheese, peanut butter, powdered sugar, and vanilla until smooth and creamy.
- Gently fold in whipped topping until light and fluffy.
- Spoon the cheesecake filling over the chilled crusts, smoothing the tops.
- Refrigerate for at least 1 hour until set.
- Top with melted chocolate drizzle, chopped peanuts, or mini chocolate chips before serving.
- Carefully remove from the tin or molds and serve chilled.
Notes
Mix mini chocolate chips into the filling for extra chocolatey bites.
Swap graham crackers for crushed chocolate cookies for a richer base.
Sprinkle flaky sea salt on top for a sweet-salty twist.
Use silicone molds or liners for easier removal.
These bites freeze well—thaw in the fridge before serving.
- Prep Time: 10 minutes
- Cook Time: 0 minutes
- Category: Dessert
- Method: No-Bake
- Cuisine: American
Nutrition
- Serving Size: 1 bite
- Calories: 120
- Sugar: 7g
- Sodium: 90mg
- Fat: 8g
- Saturated Fat: 4g
- Unsaturated Fat: 3g
- Trans Fat: 0g
- Carbohydrates: 11g
- Fiber: 0g
- Protein: 3g
- Cholesterol: 15mg

