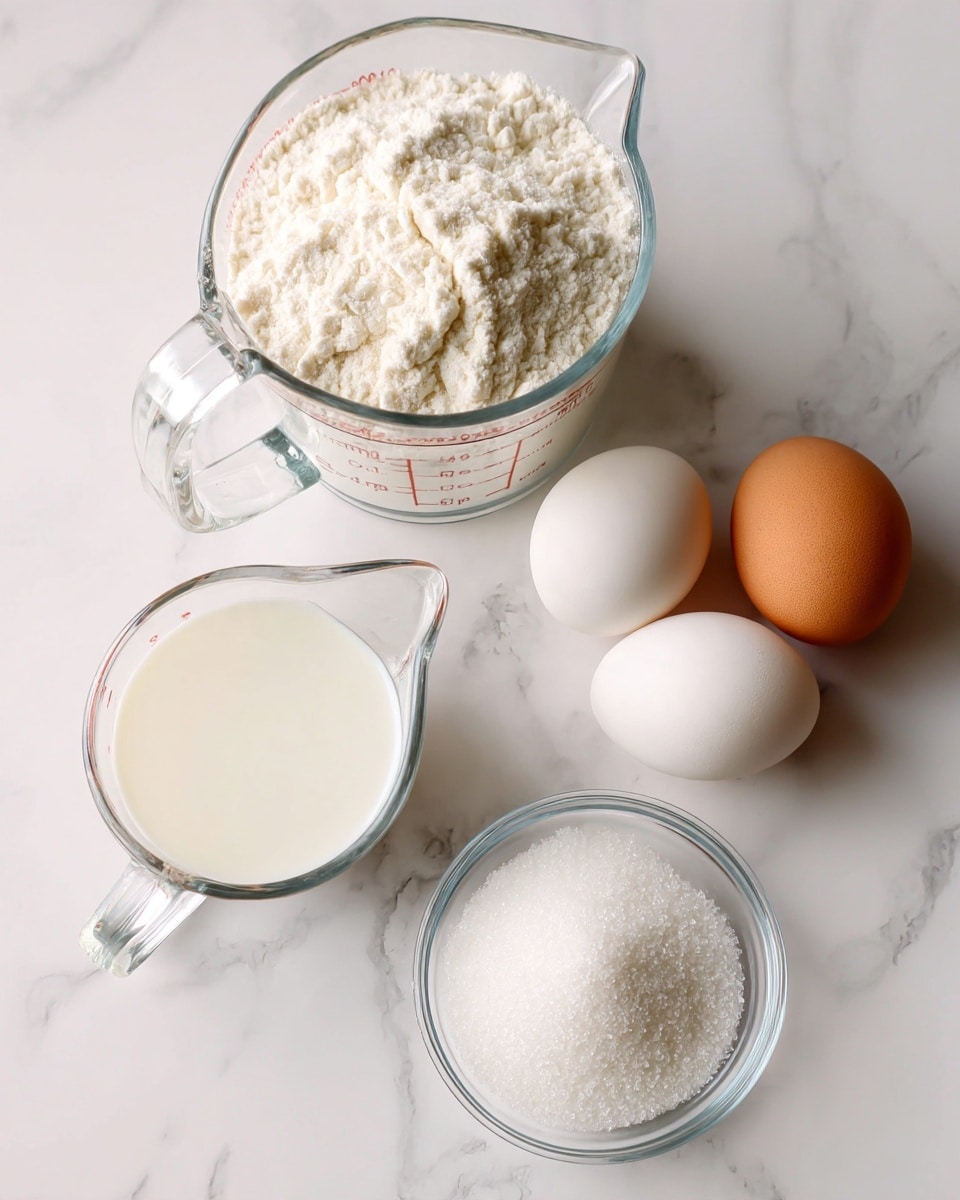
I love how such a simple batter can produce tall, beautifully puffed popovers. Eggs, flour, milk, and salt are all I need to create their signature crisp exterior and hollow, tender center.
I also appreciate that there is no yeast, kneading, or rising time involved. I simply whisk the batter until smooth, divide it between the prepared cups, and let the heat of the oven do the rest.
The two-stage baking method is another reason I like this recipe. I start with a very hot oven to encourage a dramatic rise, then lower the temperature so the popovers can finish baking and develop their deep golden color.
I find these popovers versatile enough for breakfast, brunch, lunch, or dinner. I can serve them warm with butter and jam or pair them with savory meals where their light centers are perfect for soaking up sauces and gravies.
Ingredients
(Note: All ingredient amounts are listed in the recipe card below.)
2 large eggs
1 cup all-purpose flour
1 cup milk
½ teaspoon salt
Directions
I preheat the oven to 450°F. I spray a 6-cup popover pan with cooking spray, taking care to coat both the cups and the areas between them. If I do not have a popover pan, I can use six 6-ounce custard cups or ramekins, or a standard 12-cup muffin pan. I set the prepared pan aside.
In a medium bowl, I whisk the eggs slightly. I whisk in the remaining ingredients just until the batter is smooth, taking care not to overmix it. I expect the finished mixture to be very thin and pourable, with a consistency somewhat like heavy cream.
I divide the mixture between the cups of the popover pan, filling each cup about halfway. I place the pan in the oven and bake for 20 minutes without opening the oven door. I make sure not to peek during this stage because keeping the heat trapped inside the oven is very important for helping the popovers rise properly.
After 20 minutes, I decrease the oven temperature to 350°F without opening the oven door. I continue baking for another 16 to 20 minutes, until the popovers are a deep golden brown.
I immediately remove the finished popovers from their cups. Using the tip of a sharp knife, I cut a small slit in the top of each popover to release some of the trapped steam. I find that this helps prevent the interiors from becoming soggy.
I serve the popovers immediately while they are still warm, crisp, and beautifully puffed.
Servings and Timing
I get 6 popovers from this recipe. I need about 10 minutes for preparation and approximately 40 minutes for baking, bringing the total time to about 50 minutes.
I bake the popovers at 450°F for the first 20 minutes. I then reduce the oven temperature to 350°F and continue baking for another 16 to 20 minutes. I serve them immediately for the best combination of a crisp exterior and light, airy interior.
Variations
I sometimes add a small amount of finely chopped fresh herbs to the batter when I want savory popovers. Chives, rosemary, or thyme can add extra flavor while keeping the basic character of the recipe intact.
For a cheesy variation, I can experiment with a small amount of finely grated hard cheese. I avoid adding too many heavy ingredients because I want the batter to remain light enough to develop the characteristic tall, airy structure.
When I want to serve popovers at breakfast or brunch, I keep the batter plain and serve the finished rolls with butter, honey, preserves, or jam.
I can also use different baking vessels depending on what I have available. A dedicated popover pan gives me the classic tall shape, while ramekins, custard cups, or a muffin pan offer convenient alternatives.
Storage/Reheating
I think popovers are at their best immediately after baking, when the exterior is crisp and the center is warm and airy. If I have leftovers, I let them cool completely before placing them in an airtight container.
I can keep leftover popovers at room temperature for about a day or refrigerate them for a little longer. Because moisture gradually softens their crisp exterior, I prefer eating them as soon as possible.
When I want to reheat leftover popovers, I place them in a moderate oven for several minutes until they are warmed through and the exterior becomes crisp again. I prefer oven reheating to a microwave because microwaving tends to make the texture softer.
I can also freeze completely cooled popovers in a freezer-safe container or bag. When I am ready to eat them, I reheat them in the oven until warmed through and crisp.
FAQs
Why do popovers rise so high?
I get the dramatic rise from steam that develops inside the thin batter as it bakes in the hot oven. The eggs also help provide structure, allowing the popovers to expand and hold their characteristic tall shape.
Why is my popover batter so thin?
I expect this batter to be very thin and pourable. The recipe describes its consistency as similar to heavy cream, so I do not add extra flour simply because the batter looks thinner than a typical bread or muffin batter.
Why shouldn’t I open the oven door while the popovers bake?
I keep the oven door closed during the initial 20 minutes because the high, consistent heat is important for creating the popovers’ dramatic rise. Opening the door can release heat and interfere with that process.
Can I make popovers without a popover pan?
I can make them without a dedicated popover pan. I can use six 6-ounce custard cups or ramekins, or I can use a standard 12-cup muffin pan instead.
How full should I fill the popover cups?
I fill each cup about halfway with batter. This leaves plenty of room for the popovers to expand dramatically as they bake.
Why do I lower the oven temperature during baking?
I begin at 450°F to create the strong initial heat needed for the popovers to rise. After 20 minutes, I lower the temperature to 350°F so they can continue baking until the exterior is deeply golden and the interior is properly set.
Why do I cut a slit in each popover after baking?
I cut a small slit into the top of each popover immediately after removing it from the pan. This allows some of the trapped steam to escape, which I find helps prevent the inside from becoming soggy.
Why did my popovers collapse?
I expect some settling as popovers cool, but a major collapse can happen when they have not baked long enough to develop a sturdy structure. I bake mine until they are deep golden brown and release some steam immediately after baking.
Can I make the batter ahead of time?
I prefer preparing the batter shortly before baking so I can follow the recipe’s straightforward method and get the popovers into the hot oven promptly. Since the batter takes only a few minutes to whisk together, I find there is little need to prepare it far in advance.
What can I serve with popovers?
I like serving warm popovers with butter, jam, preserves, or honey for breakfast and brunch. For savory meals, I serve them alongside roasted meats, soups, stews, or dishes with flavorful sauces that the airy centers can soak up.
Conclusion
I love how these Popovers turn four everyday ingredients into tall, golden rolls with crisp exteriors and wonderfully airy centers. The batter takes only minutes to prepare, and the simple two-temperature baking method creates their distinctive puffed shape without yeast or kneading. I serve them straight from the oven whenever possible, when they are at their crispiest, lightest, and most delicious.
Tall, golden Popovers with crisp edges and wonderfully light, airy centers made from just four simple ingredients. Serve them warm from the oven with butter and jam or alongside your favorite savory meal.
Ingredients
2 large eggs
1 cup all-purpose flour
1 cup milk
½ teaspoon salt
Instructions
Preheat the oven to 450°F. Spray a 6-cup popover pan with cooking spray, coating the cups and the areas between them. Alternatively, use six 6-ounce custard cups or ramekins, or a standard 12-cup muffin pan.
In a medium bowl, whisk the eggs slightly.
Add the flour, milk, and salt. Whisk just until smooth, taking care not to overmix. The batter should be very thin and pourable, similar in consistency to heavy cream.
Divide the batter among the prepared popover cups, filling each about halfway.
Bake at 450°F for 20 minutes without opening the oven door.
Without opening the oven door, reduce the temperature to 350°F. Continue baking for 16 to 20 minutes, or until the popovers are deeply golden brown.
Immediately remove the popovers from their cups. Use the tip of a sharp knife to cut a small slit in the top of each popover to release trapped steam.
Serve immediately while warm, crisp, and puffed.
Notes
Do not open the oven door during baking because releasing heat can interfere with the popovers’ rise.
For savory popovers, add a small amount of finely chopped chives, rosemary, or thyme to the batter.
A small amount of finely grated hard cheese can be added, but avoid heavy additions that could prevent the popovers from rising properly.
Serve plain popovers with butter, honey, preserves, or jam for breakfast or brunch.
A dedicated popover pan produces the classic tall shape, but 6-ounce ramekins, custard cups, or a standard muffin pan can also be used.
Popovers are best served immediately. Leftovers can be kept in an airtight container at room temperature for about 1 day or refrigerated for slightly longer storage.
Reheat leftover popovers in a moderate oven for several minutes to restore their warmth and crisp texture.
Completely cooled popovers can be frozen in a freezer-safe container or bag and reheated in the oven from frozen or after thawing.