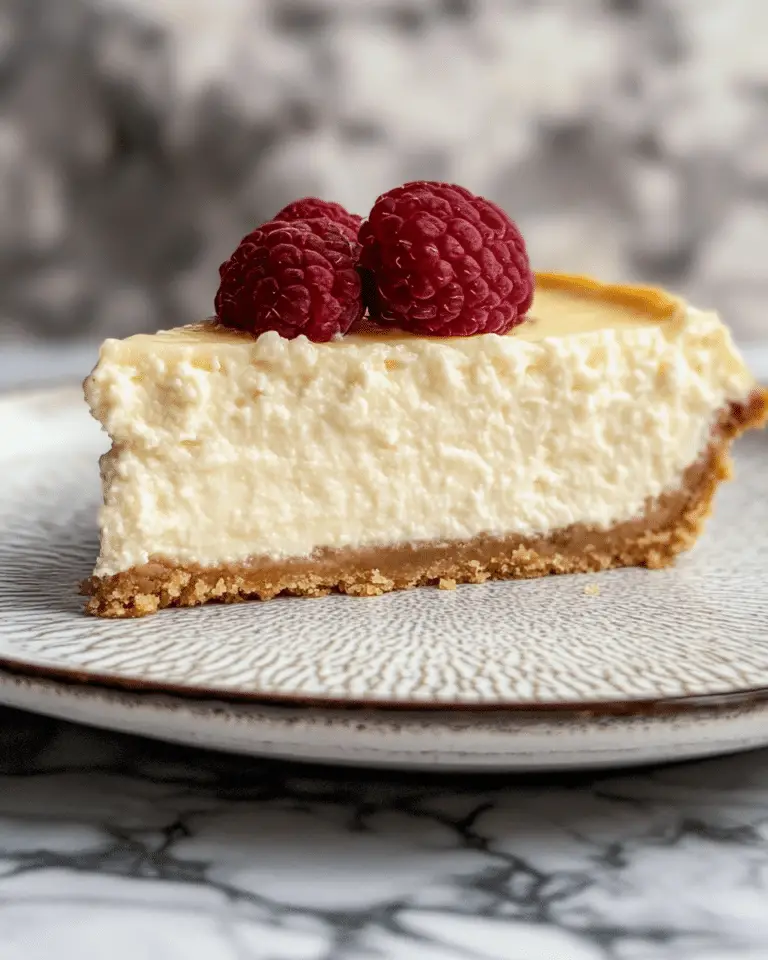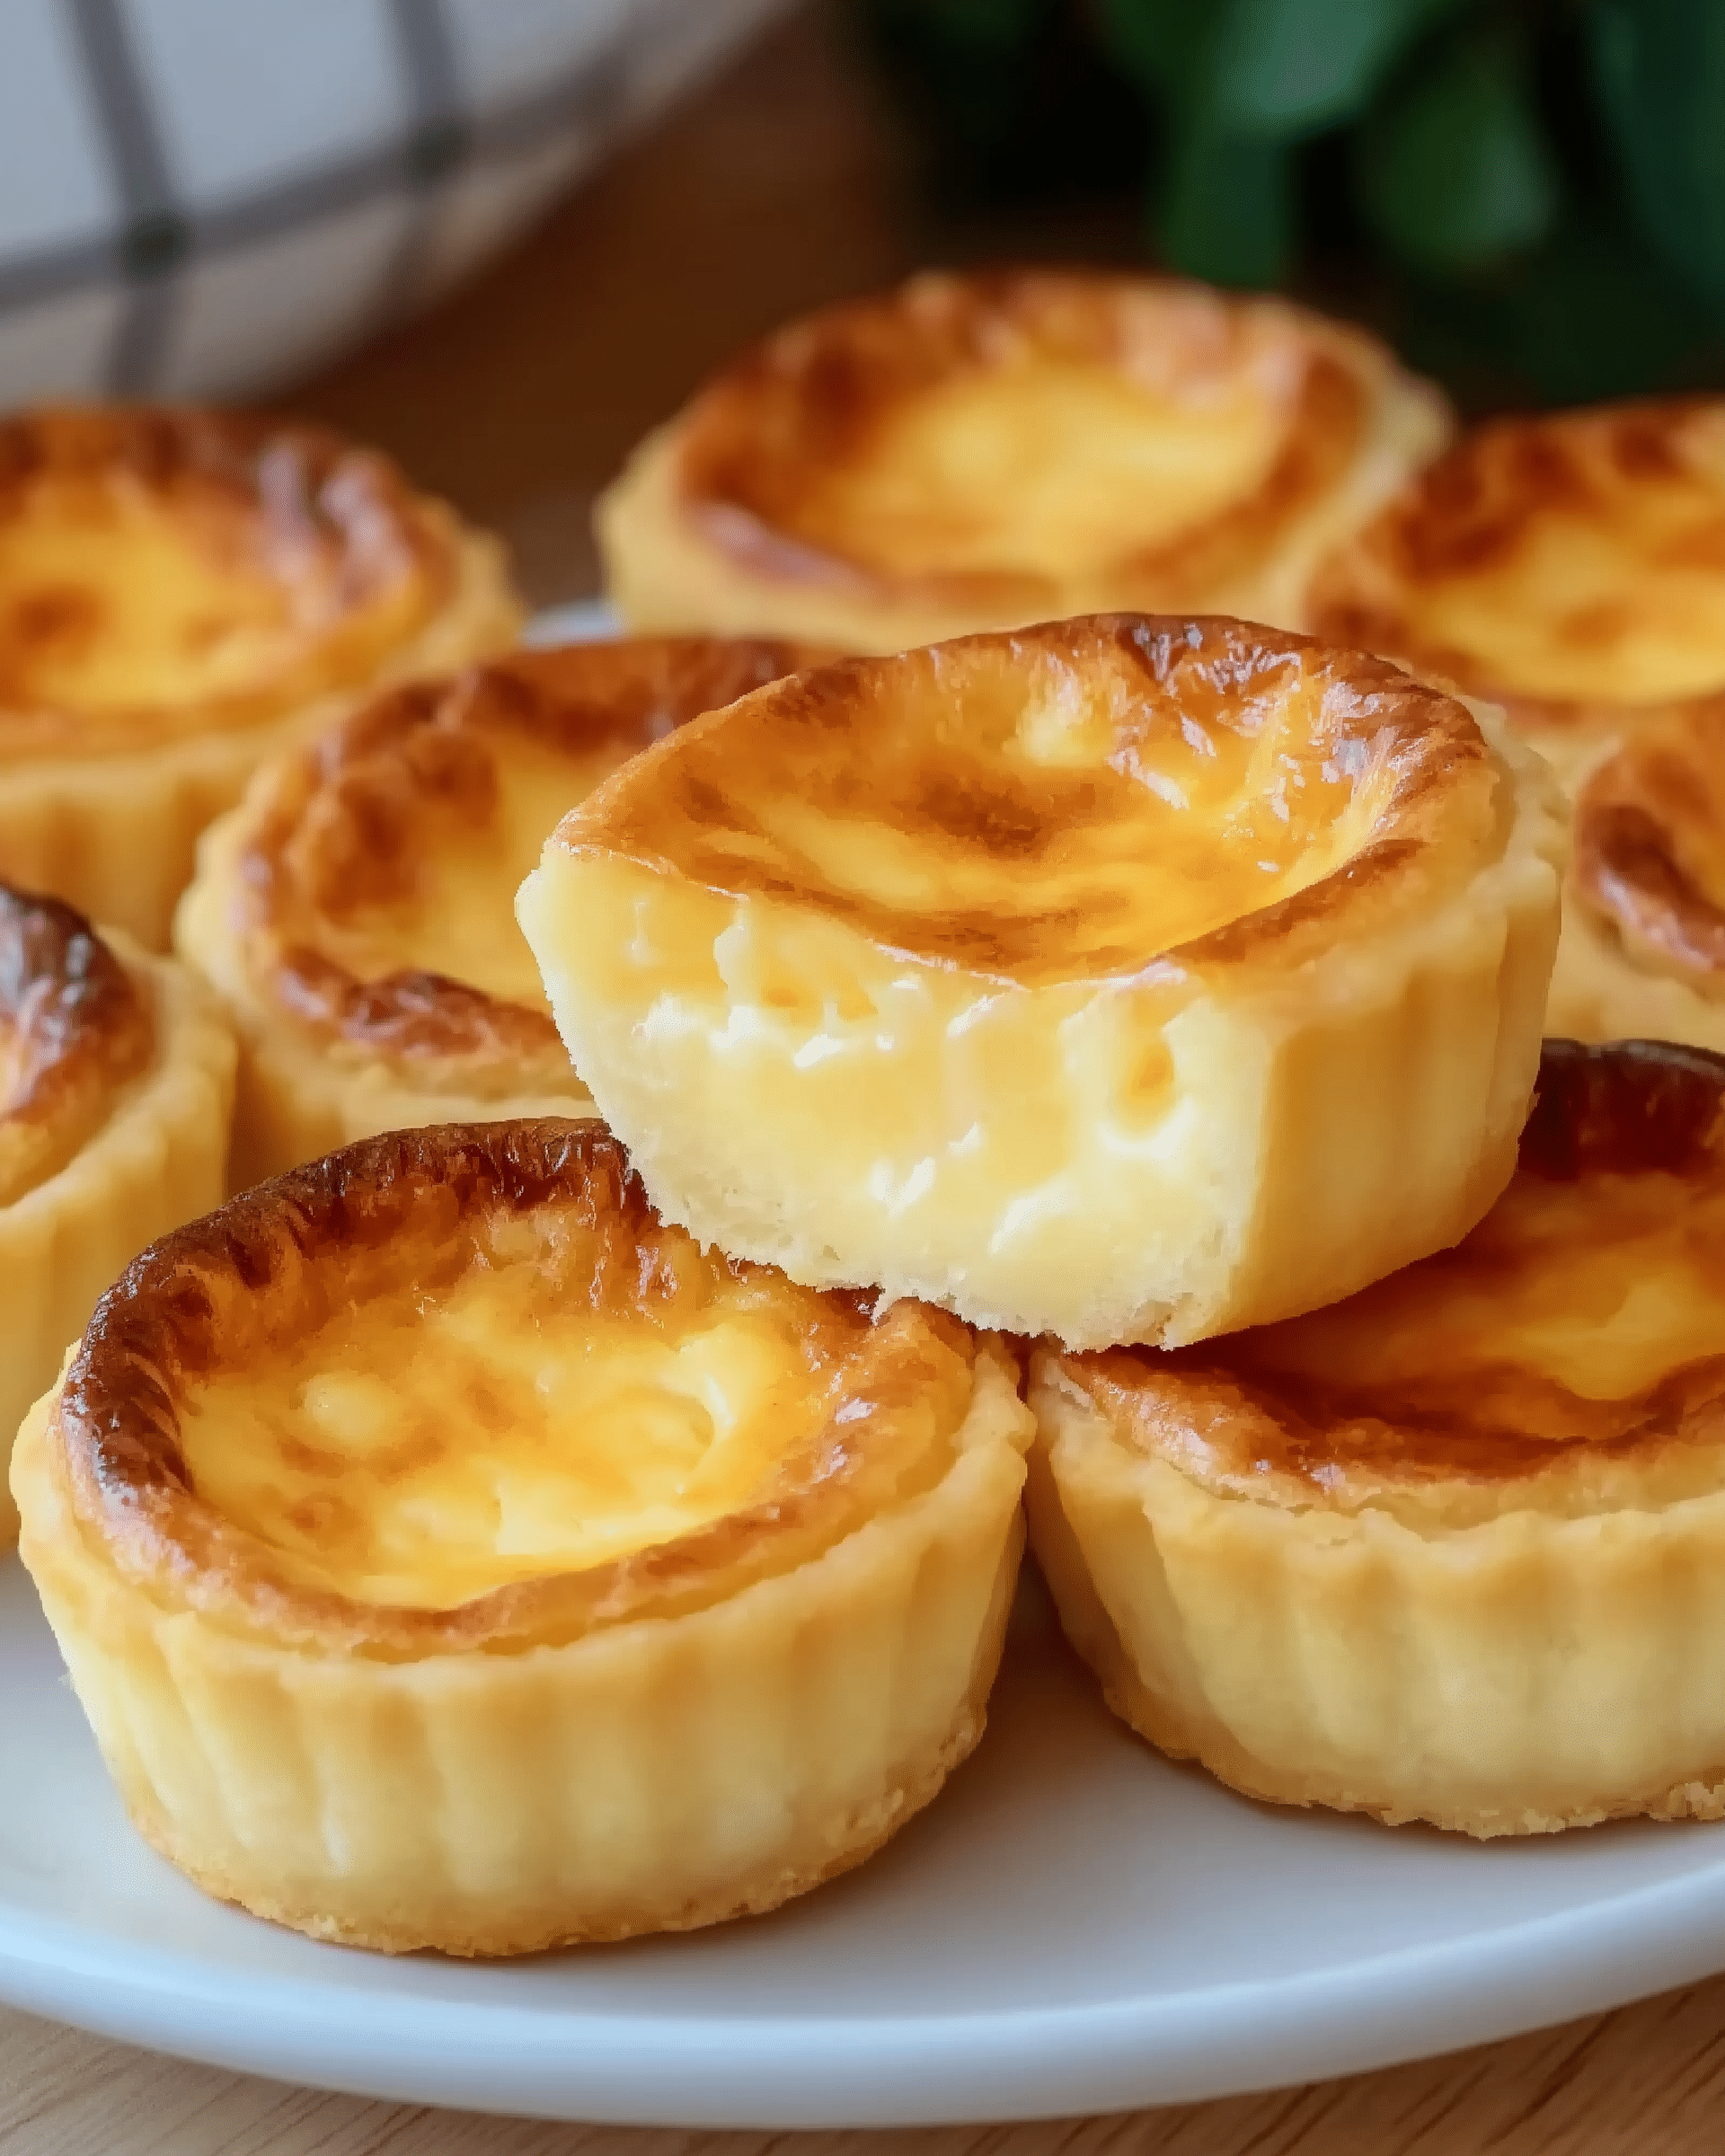
A delicate balance of buttery crust and velvety cream cheese filling, these individual cheesecake tarts offer all the flavor of a traditional cheesecake in an elegant, portion-controlled format. Perfect for entertaining or when you want to elevate your dessert game without the commitment of a full-sized cheesecake.
Why You’ll Love This Recipe
These cheesecake tarts are a perfect fusion of two beloved desserts – crisp tart shells filled with a silky, rich cheesecake filling. They’re impressively elegant yet surprisingly simple to prepare. The individual servings eliminate the need for slicing and make for beautiful presentation. The contrast between the buttery, flaky crust and the creamy filling creates a delightful textural experience in every bite. These tarts are versatile enough for casual family gatherings or sophisticated dinner parties.
Ingredients
(Tip: You’ll find the full list of ingredients and measurements in the recipe card below.)
Cake flour creates a more tender, delicate crust than standard all-purpose flour due to its lower protein content, resulting in a lighter texture that complements the rich filling perfectly.
Granulated sugar adds just enough sweetness to the crust to balance the tanginess of the filling while enhancing the overall flavor profile of the dessert.
Salt is crucial for bringing out the flavors in both the crust and filling, creating depth and preventing the dessert from tasting flat or one-dimensional.
Unsalted butter provides the rich, flaky texture in the tart shells. Using cold butter is essential as it creates pockets of steam during baking that result in that desirable flaky texture.
Ice-cold water helps maintain the butter’s cold temperature during mixing, which is key to achieving flaky layers in the crust.
Cream cheese forms the foundation of the filling, providing that distinctive tangy richness that makes cheesecake so beloved. Make sure it’s at room temperature for a smooth, lump-free filling.
Cornstarch acts as a stabilizer for the filling, helping it set properly while maintaining a silky-smooth texture.
Eggs provide structure and richness to the filling. Beating them beforehand ensures they incorporate more evenly into the mixture.
Lemon juice brightens the filling with a subtle tang that balances the richness of the cream cheese and adds complexity to the flavor profile.
Vanilla extract adds warmth and depth to the filling, enhancing the overall aromatic quality of the dessert.
Whipping cream creates a lighter, more luxurious texture in the filling while adding richness. Using it cold helps maintain the structure of the filling.
Directions
- In a large bowl, combine cake flour, granulated sugar, and salt. Add cold cubed butter and rub into the flour mixture with a pastry cutter or fingers until it resembles coarse crumbs.
- Gradually add ice-cold water, one tablespoon at a time, mixing gently until dough forms. Do not overwork. Form into a disc, wrap in plastic, and refrigerate for at least 30 minutes (up to 2 days).
- Preheat oven to 350°F (175°C). Roll out chilled dough on a floured surface to about 1/8 inch thickness. Cut circles slightly larger than tart molds. Press dough into molds, trim excess, and prick bottoms with a fork.
- Line each shell with parchment and fill with pie weights or dried beans. Blind bake for 10–12 minutes, remove weights, then bake another 5–7 minutes until golden. Cool completely.
- Beat cream cheese in a large bowl until smooth. Add cornstarch and sugar, mixing well. Gradually add eggs, lemon juice, and vanilla, mixing gently to avoid air incorporation.
- Slowly pour in cold whipping cream and mix until smooth and homogeneous.
- Preheat oven to 325°F (160°C). Pour filling evenly into tart shells, filling about ¾ full. Tap gently to release air bubbles.
- Bake for 20–25 minutes until edges are set but centers slightly jiggle. Turn off oven and leave tarts inside with door ajar for 10 minutes to prevent cracking.
- Remove tarts and cool to room temperature. Refrigerate at least 4 hours or overnight to fully set.
- Garnish with fresh berries, caramel, chocolate drizzle, or powdered sugar before serving chilled.
Servings and Timing
This recipe yields 12 individual tarts, making it perfect for gatherings or family desserts with leftovers to enjoy later.
Preparation Time: 1 hour (including chilling the dough)
Cooking Time: 25 minutes
Total Time: Approximately 1 hour 30 minutes, plus at least 4 hours of chilling time
Calories: Approximately 350 calories per tart
Variations
Chocolate Cheesecake Tarts: Add 2 ounces of melted and cooled dark chocolate to the filling for a chocolate version.
Fruit-Topped Tarts: After chilling, arrange fresh berries, sliced kiwi, or peaches on top and brush with a warmed apricot jam for a glossy finish.
Lemon Cheesecake Tarts: Double the lemon juice and add 1 tablespoon of lemon zest to the filling for a brighter, citrus-forward variation.
Salted Caramel: Drizzle homemade or store-bought caramel sauce over the chilled tarts and sprinkle with flaky sea salt.
Mini Versions: Use mini tart pans to create bite-sized versions perfect for dessert platters or buffets.
Graham Cracker Crust: Substitute the traditional pastry crust with a graham cracker crust for a more classic cheesecake experience.
Nutty Base: Add finely chopped toasted nuts to the crust dough for added texture and flavor.
Storage/Reheating
Refrigeration: Store the finished tarts in an airtight container in the refrigerator for up to 3 days. The flavor actually improves after the first day as the flavors have time to meld.
Freezing: These tarts freeze beautifully. Place them on a baking sheet until frozen solid, then wrap individually in plastic wrap and store in a freezer-safe container for up to 1 month. Thaw overnight in the refrigerator before serving.
Make Ahead: The tart shells can be blind-baked up to 2 days ahead and stored in an airtight container at room temperature. The filling can be prepared a day ahead and refrigerated until ready to use.
Serving Temperature: These tarts are best enjoyed cold, straight from the refrigerator. Allow them to sit at room temperature for about 10 minutes before serving for the best flavor and texture.
Reheating: These tarts are designed to be enjoyed cold and are not recommended for reheating as it may compromise the texture of the filling.
FAQs
Why did my tart crust shrink during baking?
Shrinking occurs when the dough is overworked or not properly chilled. Make sure to handle the dough minimally, and always chill it for at least 30 minutes before baking. Using pie weights during blind baking also helps maintain the shape.
Can I use low-fat cream cheese for this recipe?
While you can use low-fat cream cheese, it will result in a less rich and possibly slightly watery filling. For the best texture and flavor, full-fat cream cheese is recommended.
My filling cracked after baking. What went wrong?
Cracks usually result from temperature shock or overbaking. Make sure to turn off the oven and leave the door ajar for 10 minutes after baking. Also, ensure you’re baking at the correct temperature and just until the edges are set with a slight jiggle in the center.
Can I use all-purpose flour instead of cake flour for the crust?
Yes, you can substitute all-purpose flour, but the crust will be slightly less tender. To approximate cake flour, remove 2 tablespoons from each cup of all-purpose flour and replace with 2 tablespoons of cornstarch.
How do I know when the filling is properly set?
The edges should be set, but the center should still have a slight jiggle when gently shaken. Remember that the filling will continue to set as it cools and chills in the refrigerator.
Can I make this recipe as one large tart instead of individual ones?
Absolutely! Use a 9-inch tart pan with a removable bottom. You’ll need to increase the baking time to about 35-40 minutes for the filling to set properly.
Is it necessary to bring the cream cheese to room temperature?
Yes, room temperature cream cheese is crucial for a smooth, lump-free filling. Cold cream cheese will remain lumpy no matter how long you beat it.
What can I use instead of pie weights for blind baking?
Dried beans, rice, or even clean pennies work well as alternatives to pie weights. Just make sure to line the crust with parchment paper first so they don’t stick to the dough.
Can I add fruit directly to the filling before baking?
It’s best to add fresh fruit as a topping after baking to prevent excess moisture in the filling. If you want fruit inside, use a small amount of well-drained, diced fruit or berries gently folded in just before pouring into the shells.
Why is my filling not firm enough after refrigeration?
This could be due to underbaking, not cooling completely before refrigerating, or too much air incorporated during mixing. Ensure you’re following the exact measurements and mixing gently to avoid adding excess air.
Conclusion
These Cheesecake Tarts represent the perfect balance of elegance and simplicity. The buttery, flaky crust paired with the silky-smooth cheesecake filling creates a dessert that’s both sophisticated and comforting. The individual portions make them ideal for serving at gatherings, and their versatility allows for countless variations to suit any occasion or preference. Whether you’re an experienced baker or a novice in the kitchen, these tarts deliver impressive results that will have everyone asking for your secret recipe. Master this classic, and you’ll have a go-to dessert that never fails to delight.
Print
Cheesecake Tart (Cream Cheese Tart)
- Total Time: 1 hour 30 minutes + chilling
- Yield: 12 tarts
- Diet: Vegetarian
Description
A creamy and rich cheesecake tart with a tender tart shell, filled with silky cream cheese mixture. Perfectly portioned for individual servings.
Ingredients
- For the Tart Dough (Makes 12 shells):
- 230 g cake flour
- 15 g granulated sugar
- 2.5 g salt
- 135 g unsalted butter, cold and cubed
- 50 g ice-cold water
- For the Cheesecake Filling:
- 400 g Philadelphia cream cheese, room temperature
- 20 g cornstarch
- 130 g granulated sugar
- 140 g egg (about 3 large eggs, beaten)
- 8 g fresh lemon juice (about 1 tsp)
- 6 g vanilla extract (about 1 tsp)
- 215 g whipping cream, cold
Instructions
- In a large bowl, combine cake flour, granulated sugar, and salt. Add cold cubed butter and rub into the flour mixture with a pastry cutter or fingers until it resembles coarse crumbs.
- Gradually add ice-cold water, one tablespoon at a time, mixing gently until dough forms. Do not overwork. Form into a disc, wrap in plastic, and refrigerate for at least 30 minutes (up to 2 days).
- Preheat oven to 350°F (175°C). Roll out chilled dough on a floured surface to about 1/8 inch thickness. Cut circles slightly larger than tart molds. Press dough into molds, trim excess, and prick bottoms with a fork.
- Line each shell with parchment and fill with pie weights or dried beans. Blind bake for 10–12 minutes, remove weights, then bake another 5–7 minutes until golden. Cool completely.
- Beat cream cheese in a large bowl until smooth. Add cornstarch and sugar, mixing well. Gradually add eggs, lemon juice, and vanilla, mixing gently to avoid air incorporation.
- Slowly pour in cold whipping cream and mix until smooth and homogeneous.
- Preheat oven to 325°F (160°C). Pour filling evenly into tart shells, filling about ¾ full. Tap gently to release air bubbles.
- Bake for 20–25 minutes until edges are set but centers slightly jiggle. Turn off oven and leave tarts inside with the door ajar for 10 minutes to prevent cracking.
- Remove tarts and cool to room temperature. Refrigerate at least 4 hours or overnight to fully set.
- Garnish with fresh berries, caramel, chocolate drizzle, or powdered sugar before serving chilled.
Notes
- Refrigerate the dough after preparing to make it easier to handle.
- You can bake the tart shells a day prior to save time on the day of assembly.
- Use pie weights or dried beans for blind baking to prevent the shells from puffing up.
- For the best texture, avoid overmixing the filling to prevent incorporating air.
- Refrigerating the tarts overnight enhances the flavor and sets the filling completely.
- Prep Time: 1 hour (including chilling)
- Cook Time: 25 minutes
- Category: Dessert
- Method: Baking
- Cuisine: International
Nutrition
- Serving Size: 1 tart
- Calories: 350
- Sugar: 11g
- Sodium: 150mg
- Fat: 25g
- Saturated Fat: 15g
- Unsaturated Fat: 8g
- Trans Fat: 0g
- Carbohydrates: 27g
- Fiber: 0.5g
- Protein: 5g
- Cholesterol: 90mg

