I love this recipe because it’s healthy, easy, and endlessly customizable. The chickpeas get perfectly crisp in the oven, and the seasoning options let me switch things up depending on what I’m craving. They’re high in fiber and protein, which makes them satisfying enough to keep me full between meals. Plus, they store well, so I can make them ahead and snack on them throughout the week.
Ingredients
(Note: All ingredient amounts are listed in the recipe card below.) 3 (15 oz) cans organic low-sodium garbanzo beans (1 can per flavor) 1–2 tbsp olive oil
Sweet: 1 tbsp maple syrup ½ tsp cinnamon
Ranch: 1 tsp garlic powder 1 tsp onion powder ½ tsp dried dill ½ tsp dried parsley ½ tsp salt
Spicy: ½ tsp chili powder ½ tsp ground cumin ½ tsp paprika ½ tsp cayenne pepper ¼ tsp garlic powder ¼ tsp salt
Directions
I preheat the oven to 400°F (200°C).
I drain and rinse the chickpeas in a strainer, then spread them out on a kitchen towel to pat them dry. I remove any loose skins and let the chickpeas air dry until completely dry.
I line a rimmed baking sheet with a silicone baking mat or parchment paper. If using parchment, I lightly spray it with cooking oil.
I spread the chickpeas evenly over the baking sheet and roast them for 20–30 minutes, stirring every 10 minutes, until golden brown and crisp.
While the chickpeas are roasting, I mix up the three seasoning blends in separate small bowls—sweet, ranch, and spicy—and set them aside.
Once the chickpeas are hot and crispy, I divide them evenly into three bowls.
For the ranch and spicy versions, I add about ½–1 tablespoon of olive oil to each bowl and toss to coat, then add their respective spice blends and toss again.
For the sweet chickpeas, I pour the maple syrup and cinnamon mixture over them and toss to coat. I return these to the oven for another 5–10 minutes to caramelize slightly.
I sometimes add a sprinkle of sea salt or smoked paprika after baking for an extra flavor boost.
For a curry twist, I mix turmeric, cumin, and garam masala with olive oil.
I also love adding a little cocoa powder and coconut sugar to the sweet batch for a chocolatey version.
When I want them even crispier, I turn off the oven after baking and let them sit inside for 10 more minutes with the door slightly open.
For a cheesy flavor, I toss the hot chickpeas with nutritional yeast instead of ranch seasoning.
Storage/Reheating
I store leftover chickpeas in an airtight container at room temperature for up to 3 days. While they’re best eaten fresh (when super crispy), I can re-crisp them by placing them back in a 350°F (175°C) oven for about 5 minutes. I avoid sealing them before they’re completely cooled—this helps prevent moisture buildup that softens them.
FAQs
Why aren’t my chickpeas crispy?
They may not have been dried completely before roasting. I always pat them dry and let them air dry before putting them in the oven.
Can I use dried chickpeas instead of canned?
Yes. I cook them first until tender, then dry them thoroughly before roasting.
How do I keep them crispy longer?
I store them uncovered or loosely covered at room temperature for up to a day, then reheat before eating for the best crunch.
Can I skip the oil?
You can, but the oil helps the seasonings stick and promotes a crispier texture.
Can I make them in an air fryer?
Yes! I air fry them at 400°F for about 12–15 minutes, shaking the basket halfway through.
Are these chickpeas gluten-free?
Yes, all the ingredients used are naturally gluten-free.
What’s the best way to flavor them?
I season them right after roasting while they’re still warm, so the flavors stick better.
Can I use other sweeteners besides maple syrup?
Yes, honey or agave syrup works well too.
How do I know when they’re done?
They should be golden and crunchy when bitten into—if they’re still soft inside, I bake them a few minutes longer.
Can I double the recipe?
Definitely. I just use multiple baking sheets so they roast evenly without crowding.
Conclusion
These crispy roasted chickpeas are the perfect balance of healthy and satisfying. I love how they deliver that salty crunch I crave without any guilt, and the flavor combinations keep things exciting every time I make them. Whether I go for sweet, spicy, or herby ranch, they’re always a hit. Once you start making them, you’ll see why they quickly become a snack staple in any kitchen.
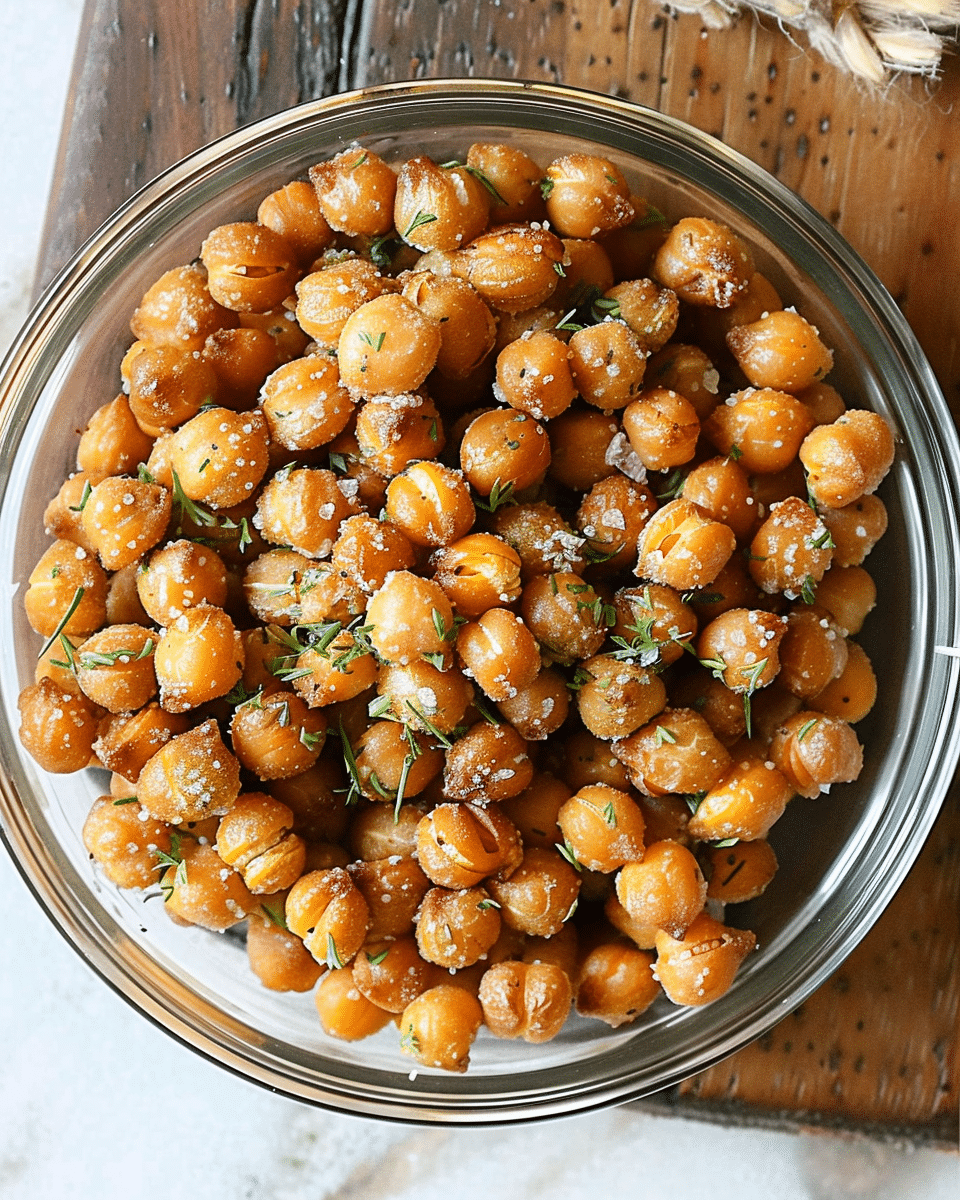
These crispy roasted chickpeas are a crunchy, high-protein snack that’s easy to make and endlessly customizable. Baked until golden and perfectly crisp, they come in three irresistible flavors—sweet, ranch, and spicy—for a snack that’s healthy, satisfying, and full of flavor.
Ingredients
3 (15 oz) cans organic low-sodium garbanzo beans (1 can per flavor)
1–2 tbsp olive oil
Sweet:
1 tbsp maple syrup
½ tsp cinnamon
Ranch:
1 tsp garlic powder
1 tsp onion powder
½ tsp dried dill
½ tsp dried parsley
½ tsp salt
Spicy:
½ tsp chili powder
½ tsp ground cumin
½ tsp paprika
½ tsp cayenne pepper
¼ tsp garlic powder
¼ tsp salt
Instructions
Preheat oven to 400°F (200°C).
Drain and rinse chickpeas, then spread on a towel to pat completely dry. Remove any loose skins and let air dry briefly.
Line a rimmed baking sheet with parchment paper or a silicone mat. Lightly spray if using parchment.
Spread chickpeas evenly on the baking sheet and roast for 20–30 minutes, stirring every 10 minutes, until golden and crispy.
While baking, mix the three seasoning blends (sweet, ranch, and spicy) in separate bowls.
Once roasted, divide chickpeas evenly into three bowls.
For the ranch and spicy batches, toss with ½–1 tbsp olive oil each, then add their seasonings and mix to coat.
For the sweet version, combine maple syrup and cinnamon, toss to coat, and return to the oven for 5–10 more minutes to caramelize.
Serve warm for the crispiest texture.
Notes
Add sea salt or smoked paprika after baking for extra flavor.
Mix turmeric, cumin, and garam masala for a curry-inspired version.
Add cocoa powder and coconut sugar to the sweet version for a dessert-style snack.
For extra crunch, turn off the oven after baking and leave the chickpeas inside for 10 minutes with the door slightly open.
Toss with nutritional yeast for a cheesy flavor without dairy.


