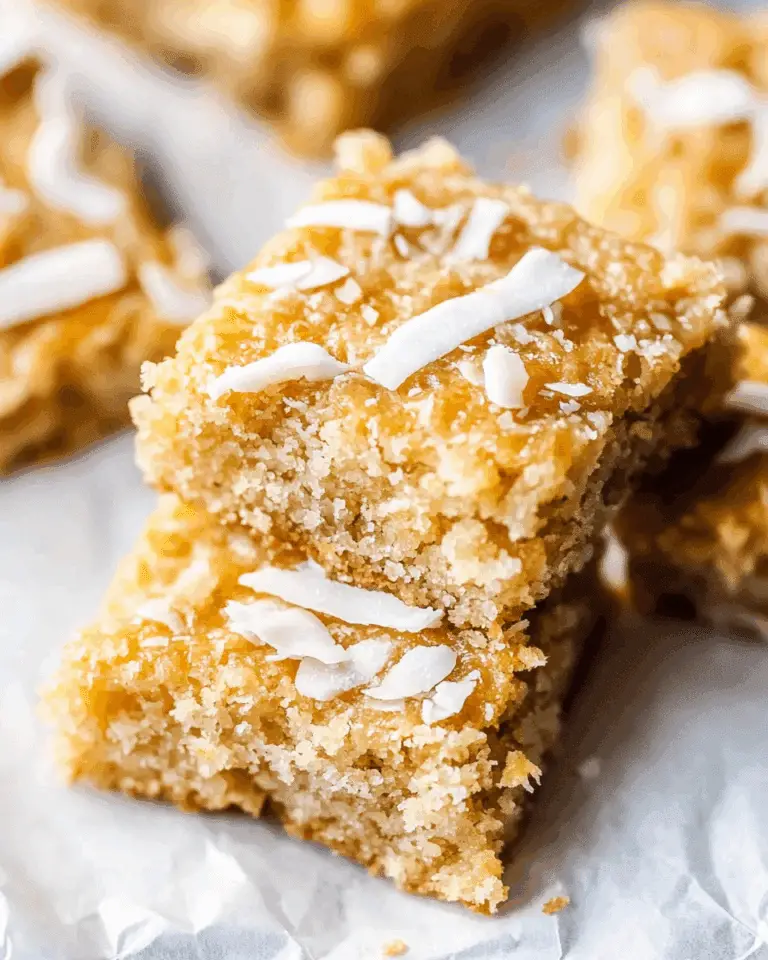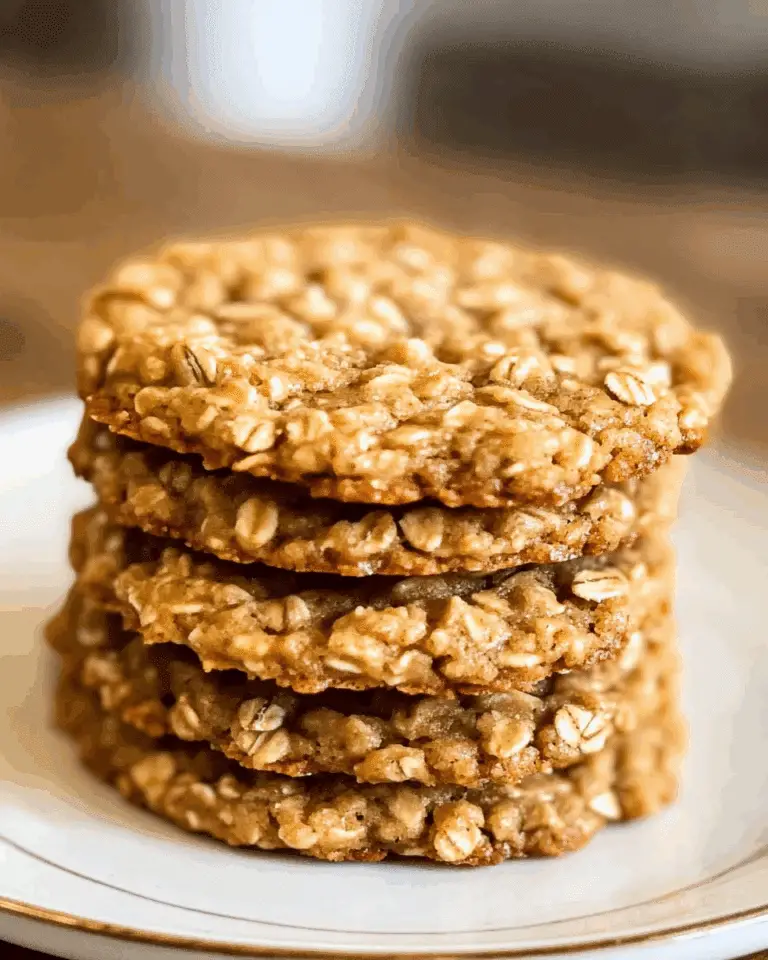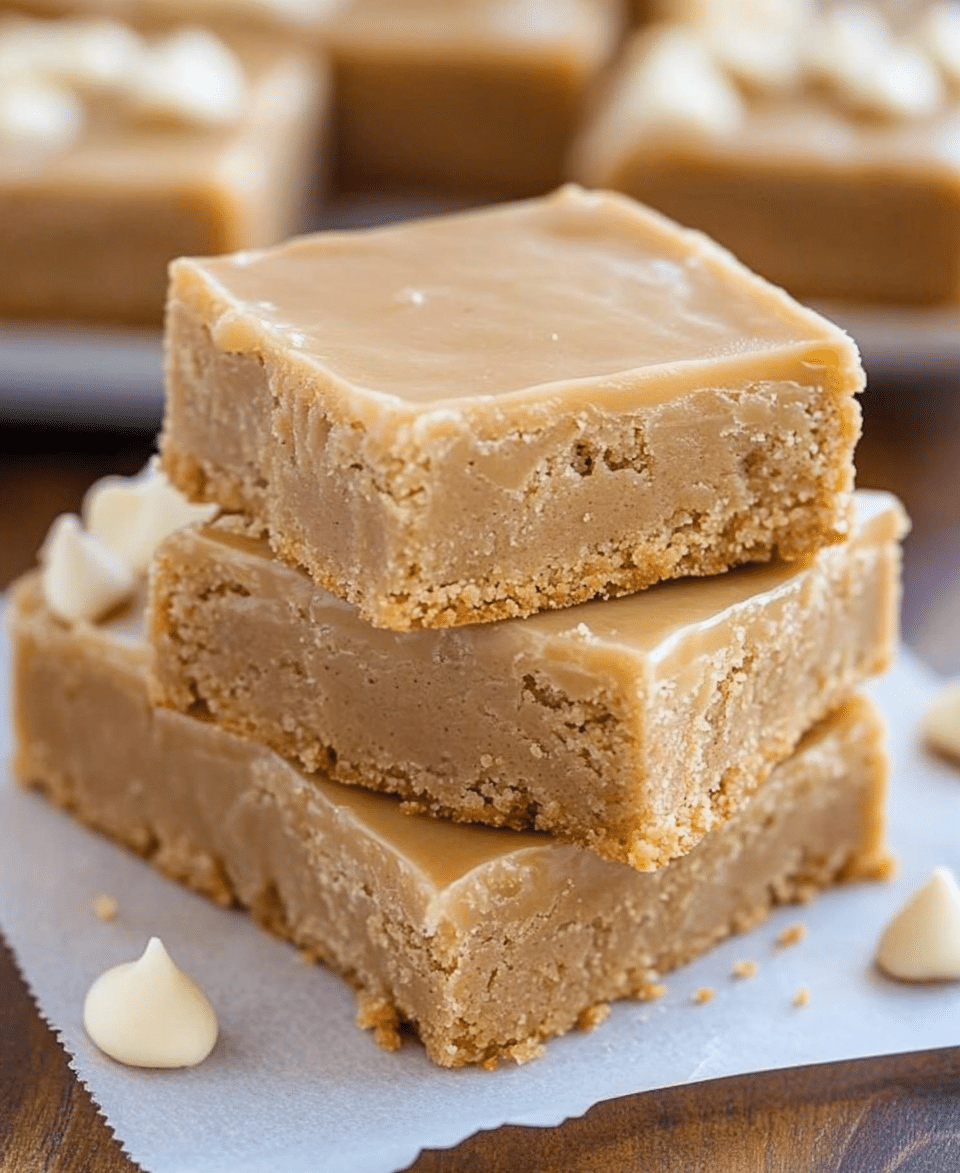
These nostalgic Peanut Butter Lunch Lady Cookie Bars bring back school cafeteria memories but with an upgraded homemade touch. Soft, chewy peanut butter bars topped with a sweet glaze create the perfect treat for lunchboxes, after-school snacks, or anytime you need a bit of comfort food nostalgia.
Why You’ll Love This Recipe
- Simple ingredients you likely already have in your pantry
- No mixer required – just a couple of bowls and a spoon
- Perfect balance of sweet and salty flavors
- Soft, chewy texture that stays fresh for days
- The sweet glaze takes these bars to the next level
- Easily customizable with mix-ins like chocolate chips or chopped nuts
- Freezer-friendly for make-ahead convenience
- Brings back nostalgic cafeteria memories with homemade quality
Ingredients
(Tip: You’ll find the full list of ingredients and measurements in the recipe card below.)
- Unsalted butter provides richness and moisture to these bars, creating that perfect chewy texture. Make sure it’s at room temperature for easier creaming with the sugars.
- Granulated sugar adds sweetness and helps create those slightly crisp edges everyone loves. It also aids in the creaming process with the butter.
- Brown sugar brings a deeper, caramel-like flavor and adds moisture to keep these bars soft and chewy for days. The molasses in brown sugar pairs beautifully with peanut butter.
- Creamy peanut butter is the star of the show, providing that classic nutty flavor. You can use natural peanut butter, but the no-stir varieties will give you more consistent results. Crunchy peanut butter works too if you prefer some texture.
- Eggs bind everything together and provide structure. They also add richness and help the bars rise properly.
- Vanilla extract enhances all the other flavors and adds a subtle aromatic quality that makes these bars irresistible.
- All-purpose flour forms the base structure of the bars. Be careful not to overmix once you add the flour to avoid tough bars.
- Baking powder gives just enough lift to keep these bars from being too dense while maintaining their chewy texture.
- Salt balances the sweetness and enhances the peanut butter flavor. Don’t skip it, even if you’re using salted butter (just reduce the amount slightly).
- Powdered sugar creates that classic smooth, sweet glaze that makes these bars truly special. Its fine texture ensures a lump-free topping.
- Milk or cream thins the glaze to the perfect consistency. You can adjust the amount to make the glaze thicker or thinner based on your preference.
Directions
- Preheat oven to 350°F (175°C) and line or grease an 8×8-inch baking pan.
- Cream butter, granulated sugar, and brown sugar until fluffy (3-4 minutes). Add peanut butter and mix until smooth.
- Beat in eggs one at a time, then stir in vanilla extract.
- In a separate bowl, whisk flour, baking powder, and salt. Gradually add to wet mixture, mixing until just combined.
- Spread dough evenly into prepared pan.
- Bake 20-25 minutes until edges are golden and center is set. Cool completely in pan.
- Whisk powdered sugar, milk (or cream), and vanilla until smooth for glaze. Adjust milk to desired consistency and drizzle or spread over cooled bars.
Servings and Timing
This recipe makes 16 cookie bars when cut into equal squares. If you prefer larger portions, you can cut them into 9 or 12 bars instead.
Prep Time: 10 minutes
Cooking Time: 25 minutes
Total Time: 35 minutes plus cooling time
Calories: Approximately 320 kcal per bar (when cut into 16 pieces)
Variations
- Chocolate Peanut Butter Bars: Add 1 cup of chocolate chips to the batter before baking for a delicious chocolate-peanut butter combination.
- Nutty Bars: Fold in 1/2 cup of chopped peanuts, walnuts, or pecans for added crunch and texture.
- Chocolate Glazed: Replace the vanilla glaze with a chocolate one by adding 2 tablespoons of cocoa powder to the powdered sugar mixture.
- Double Peanut Butter: Add 1/4 cup of peanut butter to the glaze for an extra peanut butter punch.
- Salted Caramel: Drizzle caramel sauce over the glaze and sprinkle with flaky sea salt for a sophisticated twist.
- Jam Swirl: Before baking, swirl 1/3 cup of grape or strawberry jam into the top of the batter for a PB&J inspired treat.
- Honey Bars: Replace 1/4 cup of the granulated sugar with honey for a different flavor profile.
Storage/Reheating
- Counter Storage: Store in an airtight container at room temperature for up to 5 days. Place wax paper or parchment between layers to prevent sticking.
- Refrigerator: For longer freshness, especially in warm weather, refrigerate in an airtight container for up to 10 days. Let come to room temperature before serving for the best texture.
- Freezer: These bars freeze exceptionally well. Wrap individual bars in plastic wrap, then place in a freezer bag or container. Freeze for up to 3 months. Thaw at room temperature for about an hour before enjoying.
- Make Ahead: You can prepare the bars a day or two before serving. The flavor actually improves as they sit, allowing the peanut butter flavor to deepen.
- Reheating: While these bars are typically enjoyed at room temperature, you can warm individual bars in the microwave for 10-15 seconds for a just-baked texture and aroma.
FAQs
Can I use natural peanut butter in this recipe?
Natural peanut butter can work, but it may alter the texture and consistency of your bars. For best results, use a conventional creamy peanut butter that doesn’t require stirring. If using natural peanut butter, make sure it’s well-stirred and at room temperature before incorporating.
How do I know when the bars are done baking?
The edges should be golden brown and slightly pulled away from the sides of the pan. The center should look set but might still be slightly soft—it will continue to firm up as it cools. A toothpick inserted in the center should come out with a few moist crumbs but no wet batter.
Can I double this recipe for a larger crowd?
Absolutely! Double all ingredients and use a 9×13-inch baking pan. The baking time may need to be increased by 5-10 minutes, but keep an eye on them and use the visual cues mentioned above to determine doneness.
My glaze is too thick/thin. How can I fix it?
For a thinner glaze, add milk or cream one teaspoon at a time until you reach your desired consistency. If your glaze is too thin, add more powdered sugar, one tablespoon at a time. Remember that the glaze will set firmer as it dries.
Can I make these gluten-free?
Yes, you can substitute a 1:1 gluten-free flour blend for the all-purpose flour. Make sure all other ingredients, including the baking powder, are certified gluten-free if necessary for dietary restrictions.
Why did my bars turn out dry?
Overbaking is the most common reason for dry bars. Be sure to check them at the minimum baking time. Also, measuring flour correctly (by spooning into measuring cups, not scooping) ensures you don’t accidentally use too much.
Can I add chocolate chips or other mix-ins?
Definitely! Fold in up to 1 cup of chocolate chips, chopped nuts, or other mix-ins after combining the wet and dry ingredients. This will add great texture and flavor variations.
Do I need to refrigerate these bars?
No, these bars can be stored in an airtight container at room temperature for up to 5 days. However, refrigeration will extend their shelf life to about 10 days and is recommended during hot weather.
Why are they called “Lunch Lady” bars?
These bars are inspired by the soft, glazed peanut butter bars often served in school cafeterias by lunch ladies across America. They’re a nostalgic nod to those childhood treats but made even better with quality ingredients at home.
Can I prepare the dough ahead of time?
Yes, you can prepare the dough and refrigerate it for up to 2 days before baking. Let it sit at room temperature for about 30 minutes before spreading in the pan for easier handling.
Conclusion
These Peanut Butter Lunch Lady Cookie Bars perfectly capture the nostalgia of school cafeteria treats while elevating them with homemade quality. The combination of soft, chewy peanut butter bars with a sweet glaze creates an irresistible treat that appeals to both kids and adults alike. Whether you’re packing them in lunchboxes, serving them at bake sales, or simply enjoying them with an afternoon coffee, these bars are sure to become a new family favorite. The simple preparation and basic pantry ingredients make them accessible for bakers of all skill levels, while the endless variation possibilities ensure you’ll never tire of this classic recipe.
Print
Peanut Butter Lunch Lady Cookie Bars
- Total Time: 35 minutes
- Yield: 16 bars
- Diet: Vegetarian
Description
Peanut Butter Lunch Lady Cookie Bars are soft, chewy, and topped with a sweet glaze, perfect for dessert or snacking.
Ingredients
- 1 cup unsalted butter
- 1 cup granulated sugar
- 1 cup packed brown sugar
- 1 cup creamy peanut butter
- 2 large eggs
- 2½ teaspoons vanilla extract
- 1½ cups all-purpose flour
- 1 teaspoon baking powder
- ½ teaspoon salt
- 1 cup powdered sugar
- 2–3 tablespoons milk (or cream)
Instructions
- Preheat oven to 350°F (175°C) and line or grease an 8×8-inch baking pan.
- Cream butter, granulated sugar, and brown sugar until fluffy (3-4 minutes). Add peanut butter and mix until smooth.
- Beat in eggs one at a time, then stir in vanilla extract.
- In a separate bowl, whisk flour, baking powder, and salt. Gradually add to wet mixture, mixing until just combined.
- Spread dough evenly into prepared pan.
- Bake 20-25 minutes until edges are golden and center is set. Cool completely in pan.
- Whisk powdered sugar, milk (or cream), and vanilla until smooth for glaze. Adjust milk to desired consistency and drizzle or spread over cooled bars.
Notes
- For a sweeter bar, increase the glaze amount slightly.
- Store leftovers in an airtight container for up to 3 days.
- Optional: Add chopped peanuts or chocolate chips to the batter for extra texture.
- Prep Time: 10 minutes
- Cook Time: 25 minutes
- Category: Dessert
- Method: Baking
- Cuisine: American
Nutrition
- Serving Size: 1 bar
- Calories: 320
- Sugar: 24g
- Sodium: 140mg
- Fat: 18g
- Saturated Fat: 8g
- Unsaturated Fat: 8g
- Trans Fat: 0.5g
- Carbohydrates: 35g
- Fiber: 1g
- Protein: 5g
- Cholesterol: 40mg

