I like this recipe because it combines simple sugar cookie dough with a fun decorative twist. I enjoy how the cookies feel perfect for holidays, gifting, or special occasions, and I appreciate that the dough can be made ahead and chilled, making the process easy to manage.
Ingredients
(Note: All ingredient amounts are listed in the recipe card below.)
3 cups all-purpose flour ¾ teaspoon baking powder ½ teaspoon cinnamon ¼ teaspoon salt 1 cup unsalted butter, room temperature 1 cup granulated sugar 1 large egg, room temperature 1 teaspoon vanilla extract ½ teaspoon almond extract 8 to 10 colorful hard candies, such as Jolly Ranchers 1 egg white, whisked, for brushing onto the cookies (optional) White crystal sprinkles or coarse sugar, optional
Directions
I begin by sifting the flour, baking powder, cinnamon, and salt into a large bowl and setting it aside.
In a stand mixer fitted with the paddle attachment, I beat the butter and sugar together until light and fluffy, stopping to scrape down the sides as needed. I add the egg, vanilla extract, and almond extract and mix until fully incorporated.
I add the dry ingredients to the mixer and mix on low speed until combined. If the dough feels too sticky, I add a small amount of flour until it’s soft but manageable.
I divide the dough into two portions. On lightly floured parchment paper, I roll each portion out to about ¼-inch thickness and place them on baking trays. I refrigerate the dough for at least 3 hours or overnight.
While the dough chills, I separate the hard candies by color, place them in plastic bags, and crush them into small crystal pieces.
Once chilled, I preheat the oven to 375°F. I cut out cookie shapes using a large cutter, then cut out the centers with a smaller cutter to create windows. I transfer the cookies to parchment-lined baking sheets.
I fill each cookie center about three-quarters full with crushed candy. If using, I brush the tops with egg white and sprinkle with crystal sugar. I bake the cookies for 8 to 10 minutes until the edges are lightly golden.
I let the cookies cool on the baking sheet until the candy sets, then transfer them to a cooling rack to finish cooling before serving.
Servings and Timing
I make about 30 cookies from this recipe. The prep time takes around 30 minutes, baking takes about 10 minutes per batch, and chilling and cooling add roughly 3 hours and 20 minutes, for a total time of about 4 hours.
Variations
I sometimes mix different candy colors in one cookie for a stained-glass effect. When I want a stronger flavor, I slightly increase the almond extract. I also enjoy using different cookie cutter shapes for holidays and themed events.
Storage/Reheating
I store these cookies in a single layer in an airtight container at room temperature for up to 5 days. I avoid stacking them to keep the candy centers clear and unbroken. I don’t reheat these cookies, as they’re best enjoyed at room temperature.
FAQs
What makes these cookies “stained glass”?
I use crushed hard candy that melts into clear, colorful centers resembling stained glass.
Can I make the dough ahead of time?
I often prepare and chill the dough overnight to save time.
What candies work best?
I use hard candies that melt smoothly and hold bright color.
Do I need to chill the dough?
I always chill it to make cutting clean shapes easier.
Why shouldn’t the candy be crushed too finely?
I keep it chunky so it melts evenly without burning.
Can I skip the egg white topping?
I skip it sometimes, but it helps the sprinkles stick nicely.
Do these cookies spread a lot?
I find they hold their shape well when the dough is properly chilled.
Can kids help make these?
I enjoy letting kids help crush candies and choose colors.
Why did my candy bubble?
I notice bubbling happens if the oven runs too hot.
Are these good for gifting?
I love gifting them because they look festive and impressive.
Conclusion
I enjoy making stained glass cookies because they combine a classic sugar cookie flavor with a beautiful presentation. The colorful centers and crisp, buttery texture make them a standout treat that’s just as fun to make as it is to serve.
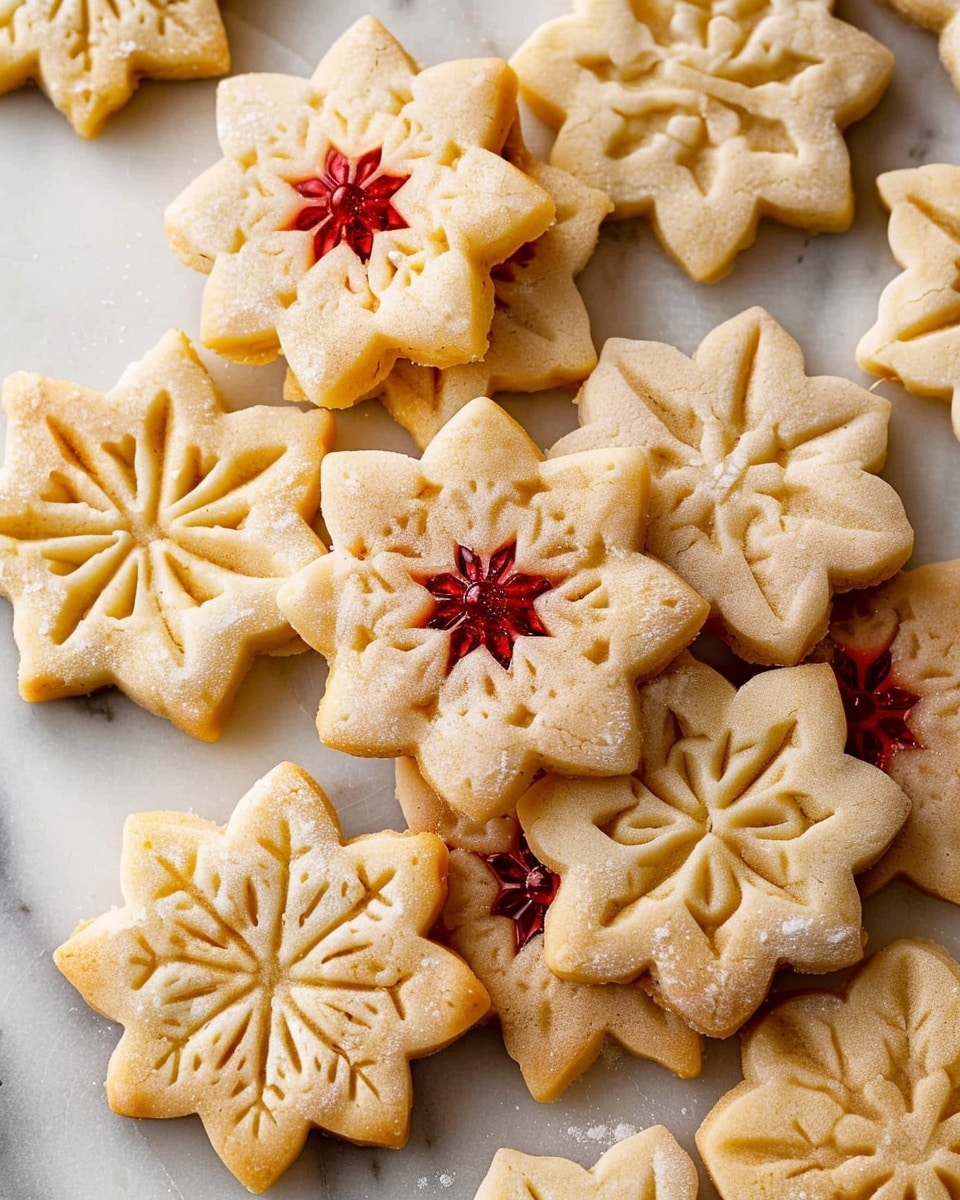
Festive stained glass cookies made with a buttery sugar cookie base and colorful melted candy centers, creating crisp, sweet cookies that are beautiful, classic, and perfect for holidays or gifting.
Ingredients
3 cups all-purpose flour
¾ teaspoon baking powder
½ teaspoon ground cinnamon
¼ teaspoon salt
1 cup unsalted butter, room temperature
1 cup granulated sugar
1 large egg, room temperature
1 teaspoon vanilla extract
½ teaspoon almond extract
8–10 colorful hard candies (such as Jolly Ranchers), crushed
1 egg white, whisked (optional)
White crystal sprinkles or coarse sugar (optional)
Instructions
Sift together the flour, baking powder, cinnamon, and salt in a large bowl. Set aside.
In a stand mixer, beat the butter and sugar until light and fluffy, scraping down the sides as needed.
Add the egg, vanilla extract, and almond extract and mix until fully incorporated.
Add the dry ingredients and mix on low speed until just combined. If sticky, add a small amount of flour until manageable.
Divide the dough into two portions. Roll each portion to ¼-inch thickness between parchment sheets and place on baking trays.
Refrigerate the dough for at least 3 hours or overnight.
Separate hard candies by color and crush into small crystal-sized pieces.
Preheat oven to 375°F (190°C). Cut cookie shapes and cut out centers to create windows. Transfer to parchment-lined baking sheets.
Fill cookie centers about three-quarters full with crushed candy.
If using, brush cookies lightly with egg white and sprinkle with crystal sugar.
Bake for 8–10 minutes, until edges are lightly golden.
Allow cookies to cool on the baking sheet until candy centers set, then transfer to a cooling rack to cool completely.
Notes
Chilling the dough ensures clean cuts and minimal spreading.
Do not overfill candy centers to prevent overflow.
Avoid stacking cookies to keep candy centers intact.
Different cookie cutter shapes work well for themed occasions.


